Creating a Document
You create a document starting with the Settings step of the Properties Wizard. Each subsequent step guides you the available document settings.
Note: The document type options you see when creating a document depend on what templates are in your Policy & Procedure Management system. If you need to create a document of a type not currently available, contact your administrator, who may be able to create a template for that type of document.
Create a Document
- In the navigation pane, click Documents, and then click New.
- Select the type of document you want to create.
- In the Basic Settings tab, type a title for the document.
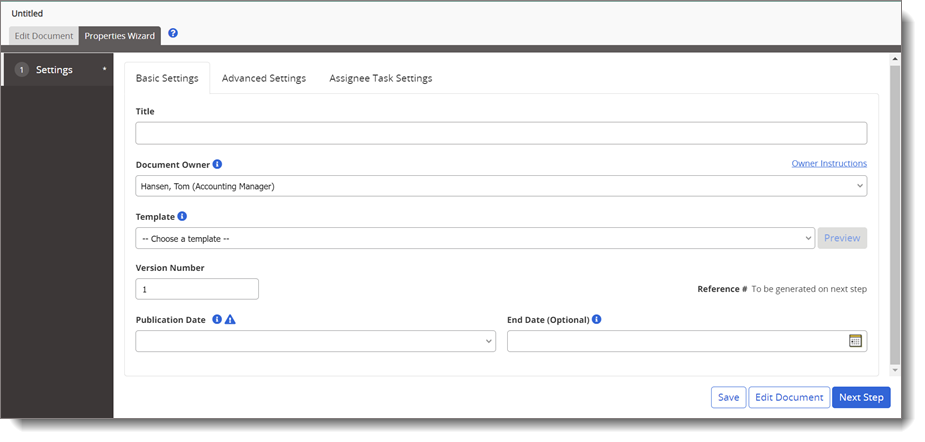
- For Document Owner, select the person who will be required to oversee the creation and updating of the content.
- If you have been assigned the Document Owner role, your user name is automatically selected.
- If you have been assigned as proxy author for a single document owner, that user's name is automatically selected.
- If you have been assigned as proxy author for more than one document owner, or if you are an administrator, select an owner.
- (Optional) To create a new task for the document owner, click Owner Instructions, select the Create task for owner check box, write the task instructions, and then click Close.
If the Auto Create Prepare Task on New Document setting is enabled in Default Properties, the default text will appear in the Owner Instructions field and can be overwritten within this field.
- (Optional) To create a new task for the document owner, click Owner Instructions, select the Create task for owner check box, write the task instructions, and then click Close.
- For Template, select from the available list.
If you see a template name but no option for selecting a different template, the only available template has been automatically selected.
If you select a template for a document type that is different than the type you selected from the New Document menu, the document will be changed to that type when you click Save.
The template list includes all templates from all sites you have access to.
- (Optional) The default version number for a new document is 1. One instance where you might want to change the version number is if you are uploading a document with a later version from outside the Policy & Procedure Management system. You cannot change the version number of an approved document.
- (Optional) Depending on how your administrator has set up the application, you may need to enter a reference number.
-
If you see To be generated on next step after Reference #, move on to the next step.
-
If you see a blank box after Reference #, type a number. The number can contain numbers, letters, and all other standard characters except <, |, and ^.
Important: A document's reference number must be unique throughout the application. If you are not sure what numbering scheme your organization is using, contact your administrator.
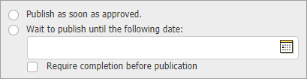
- (Optional) For Publication Date, do one of the following:
-
Select Publish as soon as approved. A new document is published as soon as it is approved. A document approved after the specified publication date will be published immediately upon approval.
-
Select Wait to publish until the following date, click
 , and then select a date.
 By default, reading task notifications are sent to assignees as soon as the document is published. Select Require completion before publication if you want the notification sent as soon as the document is approved, even if it will be published later. Assignees can then access the document during the interval between approval and publication (in the Pending status).
Note: Users who mark the document as read before the publication date will not be required to complete their assigned tasks again after the document is published.
-
(Optional) For End Date, specify the date you want all assignee tasks for this document to expire. On that date, all incomplete tasks will be canceled, removing them from assignees' My Tasks lists. Also, if any assignee groups, departments, or job titles are selected, new users added to one of these entities after the task end date will not receive tasks.
Important: You must save the document at this point before you can access Advanced Settings, Assignee Task Settings, and the other Properties Wizard steps to edit the document.
- Click Save.
This publication was written and produced at NAVEX Global, Inc., Lake Oswego, Oregon. This publication or any portion thereof is confidential and/or proprietary and may not be reproduced or used in any manner whatsoever without the express written permission of NAVEX Global, Inc.
Copyright © 2026 NAVEX Global, Inc. NAVEX Global® is a registered trademark/service mark of NAVEX Global, Inc. The NAVEX Global® logo is a trademark/service mark of NAVEX Global, Inc. Unauthorized use of NAVEX Global, Inc.’s trademarks/service marks is strictly prohibited without prior written permission from NAVEX Global, Inc.