You can use Bulk Edit to assign properties to multiple documents or questionnaires at once. This is especially useful for assigning properties to imported files that are created as draft documents.
The steps under "Using Bulk Edit" below provide general instruction. See the following
Next Review Dates after Setting as Approved
Reapplying a Template to Multiple Documents or Questionnaires
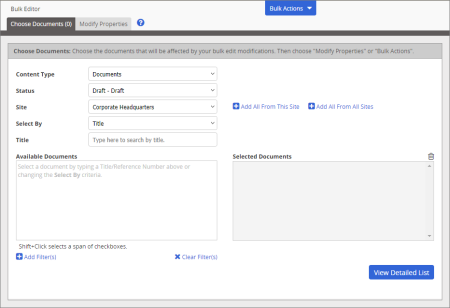
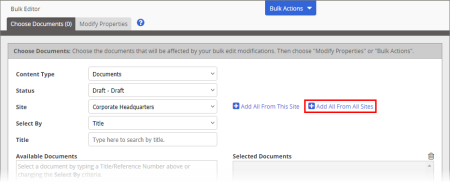
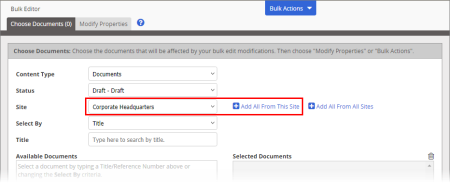
Using Bulk Edit consists of two major steps—choosing the documents or questionnaires you want to edit and then modifying their properties.
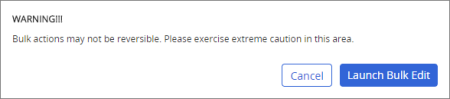
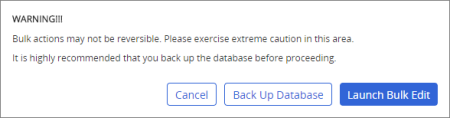
You should now see one of the following warnings, depending on whether your PolicyTech system is hosted by NAVEX Global (first warning) or installed on your organization's premises (second warning).
The Bulk Editor opens in a separate window.
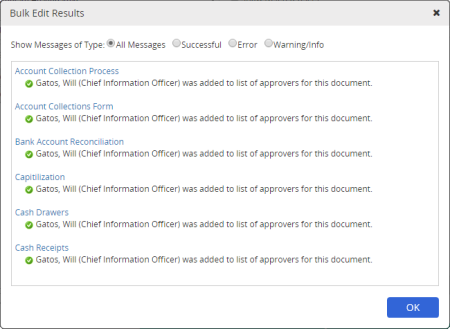
Note: All message types are shown by default. You can also choose to see only success or error messages.
Note: If you change the status after selecting documents/questionnaires, you will be prompted to click Yes to clear the current selections and switch to the different status.
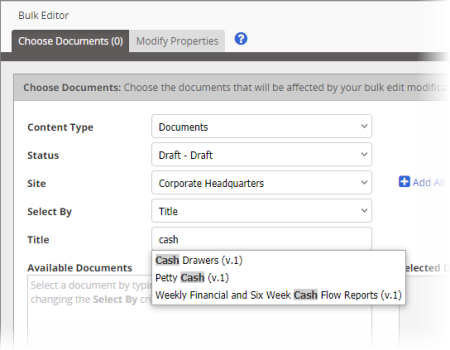
The selector below Select By changes depending on your Select By choice.
If you selected Title or Reference #, start typing any part of a document /questionnaire title or reference number you want to find. After typing at least three characters, a list of titles or reference numbers appears containing the characters you typed. Click a title to select the document/questionnaire.
Note: With Title and Reference #, you are limited to selecting one document/questionnaire at a time.
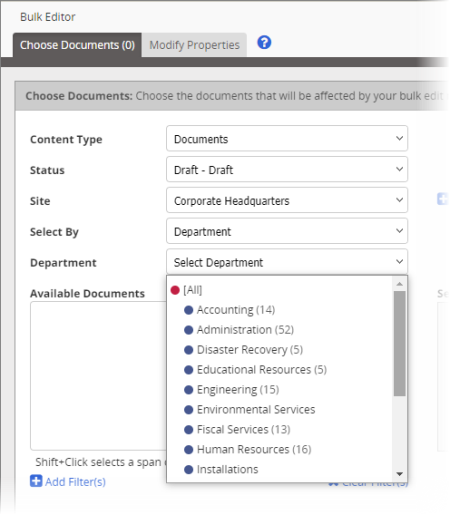
If you made any other Select By choice, select an item to show the documents/questionnaires assigned to it. For example, if you chose Department, then, in the Department list, click a department name.
Note: If you choose Department, Template, or Category for Select By, the items in the resulting Department, Template, or Category list show, in parentheses after the item name, the number of documents/questionnaires assigned to that item for the currently selected status and site.
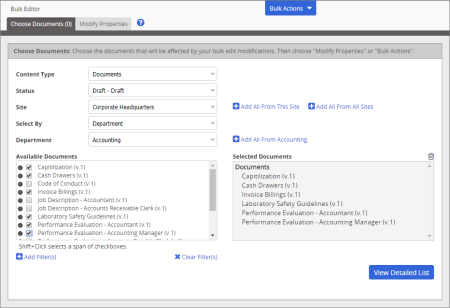
A list of documents/questionnaires corresponding with the Select By item you chose is displayed. Select the those you want added to Selected Documents.
Note: If you see the No documents found... message, then there are no documents/questionnaires in the currently selected status and site that are assigned to that item.