System-Wide Settings are divided into the following groups:
Business Title. In the Business Title box, type your organization's name.
The text you enter here is used in several locations, including the Properties page of the Overview and in welcome emails.
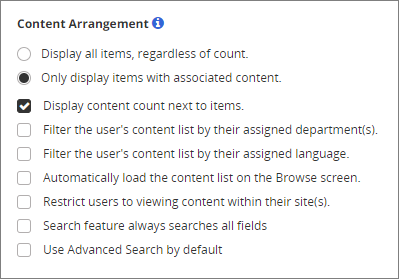
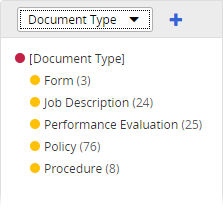
Content Arrangement. These options let you control which filing items (such as departments and categories) and content items (documents, questionnaires, and campaigns) are displayed when browsing.
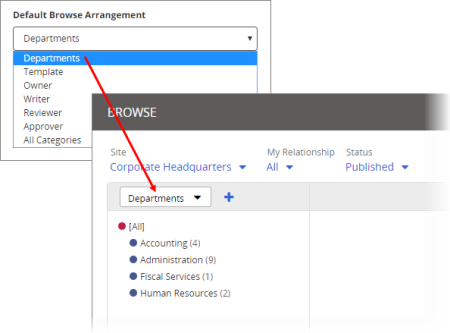
Selecting a property displays a list of all available filing options. In the example below, Departments is the selected filing option.
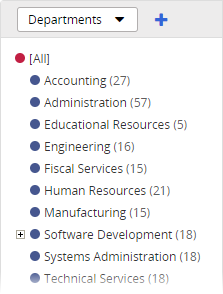
By default, only those filing options with content items assigned to them appear in the Arrange by list. To change this setting, click Display all items, regardless of count.
To disable this feature, click to clear the Display content count next to items check box.
Important: This setting applies to all users, except those assigned the Administrator or View Docs All Departments permission (see Assigning System Permissions for details on assigning permissions to users).
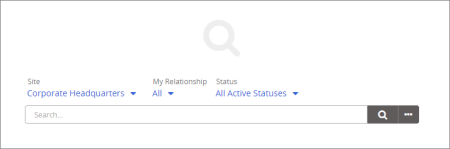
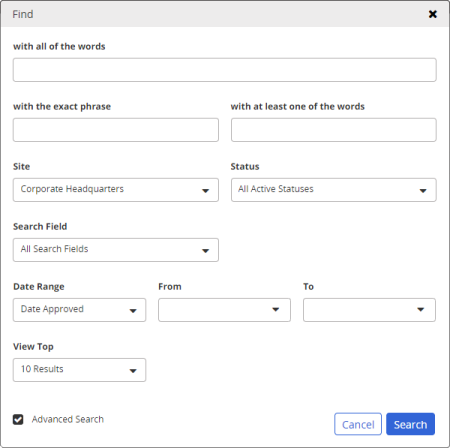
To have the Advanced Search options displayed for all users immediately upon clicking Search in the Documents area, select Use Advanced Search by default.
Important: If you don't see the Use Advanced Search by default option, then Advanced Search has not yet been enabled. To enable it, click System Settings, click System / IT Settings, click Database Manager, and then click Rebuild/Enable Full-Text Indexes.
Note: There is no Advanced Search feature for questionnaires and campaigns.
|
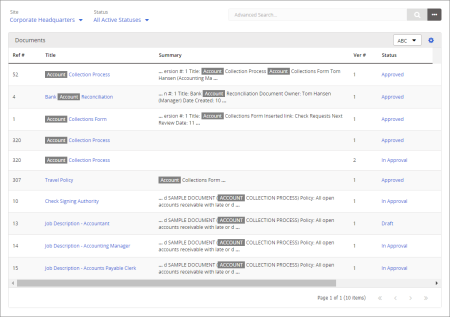
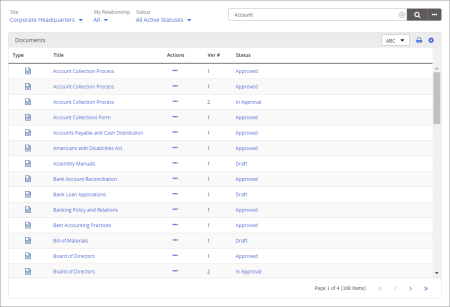
Note: The search results are displayed differently for Advanced Search than for a basic search. The Advanced Search results grid shows both the document titles and the first instance of text within the document (if any) containing the search text, while the basic search results grid contains only titles. Advanced Search results grid
Basic search results grid
|
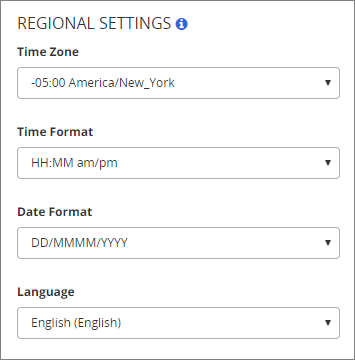
Choose the time zone, time format, date format, and language settings you want to appear as the default settings for each site you add. You can override these settings when you create a site (see Adding a Site for details).
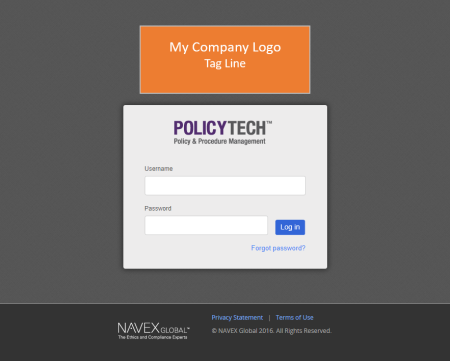
You can upload a graphic file, such as a company logo, that will be displayed above the login box, as shown in the example below.
Important: The box that holds the login logo is set at 400 pixels wide (the same width as the login dialog box below it), but the height will adjust automatically. If you upload a graphic that is wider than 400 pixels, the Image Justify option will have no effect. The left edge of the image will be aligned with the left edge of the login dialog box.
|
Note: To remove the currently selected logo, click |
You can upload a graphic file, such as a company logo, that users can then insert into documents and document templates.
|
Note: To remove the currently selected logo, click |
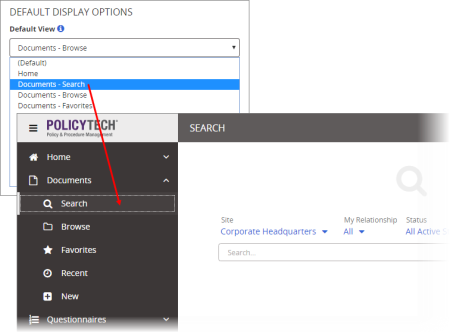
The Default View options correspond with options in the left panel of the main PolicyTech screen and determine which is selected and displayed when users log in.
|
Notes:
|
|
Notes:
|
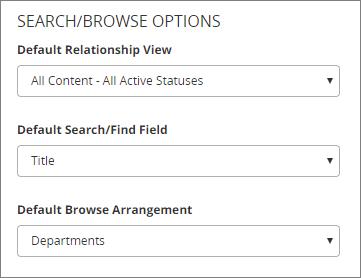
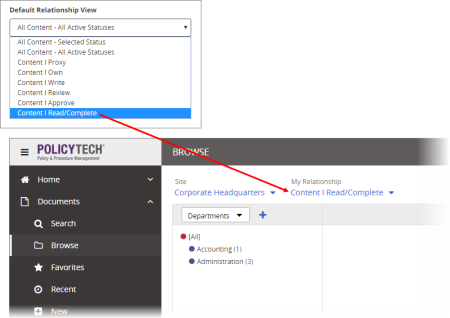
This setting determines the default My Relationship setting in Search and Browse. To set a default relationship view that applies to all users and not just those with specific role assignments, select either All Content - Selected Status, All Content - All Active Statuses, or Content I Read/Complete.
Note: If a user is not assigned the role corresponding with the default relationship view, My Relationship will default to All Content - Selected Status for that user. For example, if you select Content I Approve as the default, the default My Relationship setting for a user with only the Assignee role will be All Content - Selected Status.
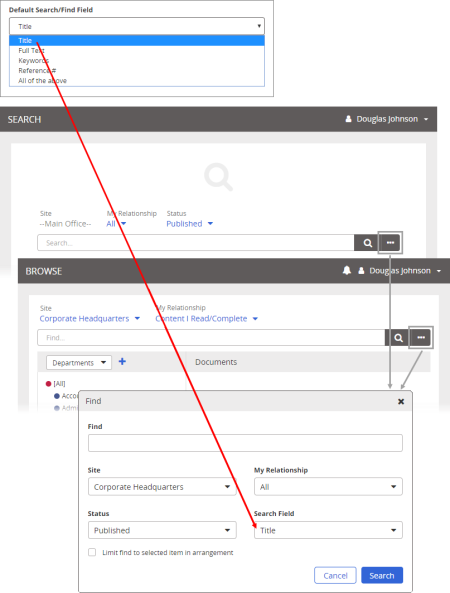
This setting determines the default Search Field setting for both Search and the Find feature in Browse.
|
Notes:
|
These options correspond to the Arrange by options in a Browse content list and determine which is selected and in effect when a user first accesses Browse after login.

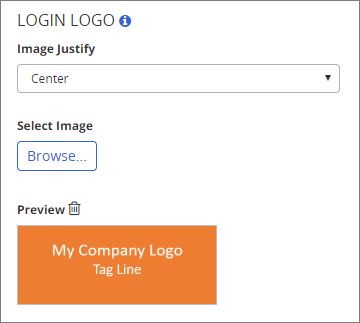
 after Preview. To replace it, simply upload another graphic file.