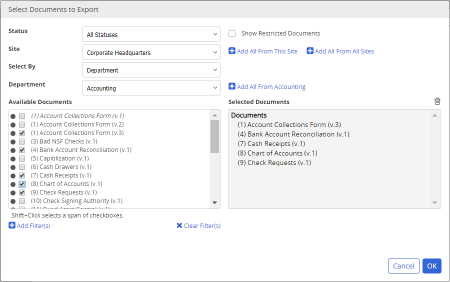
Selecting Documents for a Simple or Metadata Export
The process for selecting documents consists of first displaying a narrowed list of documents and then selecting from that list the documents you want to export.
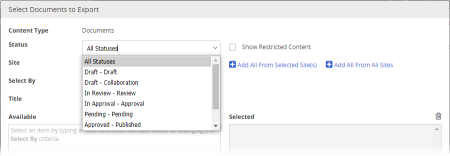
- If a group of documents you want to export are all in the same workflow status, select that status. Otherwise, select All Statuses.
- (Optional) By default, documents with a security setting of Restricted - High or Restricted - Severe are not available for inclusion in the export. If necessary, select Show Restricted Documents.
- Do one of the following:
- Click Add All From All Sites to include all documents in the currently selected status from all sites. You are now done selecting documents for the current export.
- Select a site containing some or all of the documents you want included in the export, and then continue with the next step.
- Do one of the following:
- Select Add All From This Site to include all documents in the currently selected status and site. You are now done selecting documents for the current export.
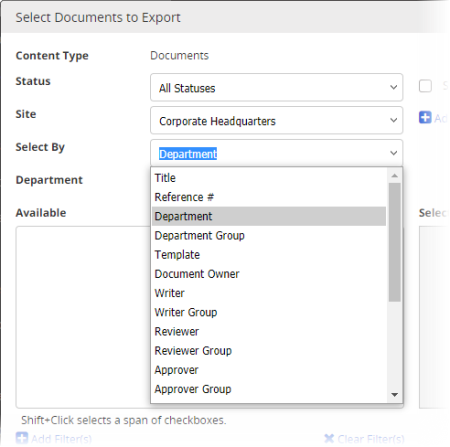
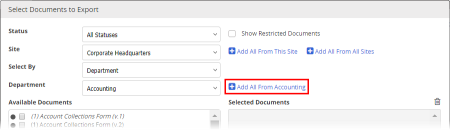
- For Select By, click an option for how you want to find documents, and then continue with the next step.
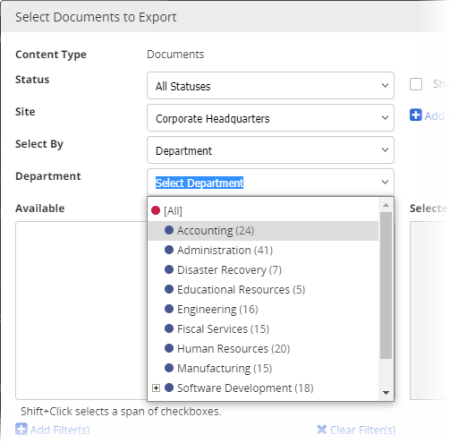
- The list below Select By changes, depending on your Select By choice. For example, if you choose to select documents by department, a list of departments appears below the Select By list.
Do one of the following:
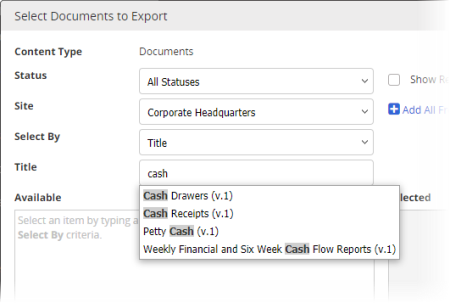
- If you chose Title or Reference # for Select By, start typing some text that you believe is in a document's title or reference number. When you've typed at least three characters, a list appears of titles or reference numbers matching what you've typed. Continue typing if you need to narrow the list. As soon as you see the title or reference number you want, click it.
Note: Unlike other Select By options, the Title and Reference # options limit you to selecting documents one at a time.
- If you chose any of the other Select By options, in the list below Select By click an item to display all documents assigned to that item. For example, if you chose Department for Select By, then in the Department list, click a department to display all documents assigned to that department.
- (Optional) To narrow a long list of documents, add one or more date-related filters (see Adding Document Filters below for details).
Note: Filters have no effect if you selected Add All From This Site or Add All From All Sites.
- Do one of the following to add documents to Selected Documents:
- Select individual documents from the Available Documents list.
- To quickly add all documents from the list, click Add All From [Select By item].
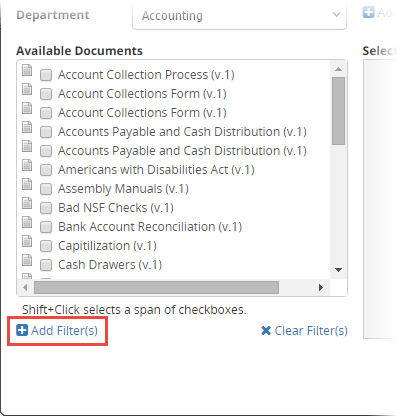
Adding Document Filters
- With a list of documents displayed in the Available window, click Add Filter(s).
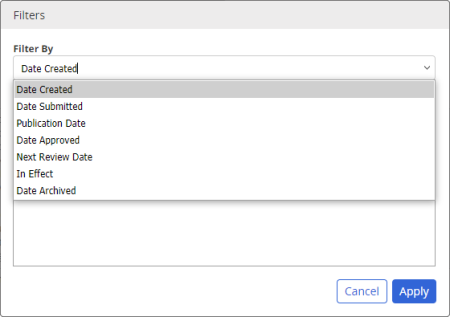
- In the Filter By list, click an option.
Important: In some reports, a Filter By option is preselected and not changeable.
- In the Date Range list, click a range.
- Click Add Filter.
- (Optional) Repeat steps 2 through 4 to add another filter to work in combination with the first filter. For example, you might want to filter for only those documents that were created within the last 90 days and that were published within the last 30 days.
- Click Apply.
Note: To clear any applied filters, below the Available box, click Clear Filter(s).