Creating a Campaign (Overview)
The following steps provide an overview of the creation process for campaigns, along with references to more detailed instructions.
Note: The ability to create campaigns is an optional feature that may or may not be enabled. If you don't see Campaigns in the sidebar menu and you need to create a campaign, talk to your PolicyTech administrator.
- Click Campaigns. If you've been assigned the Campaign Owner role, you'll see the New option, as shown below.
- Click New.
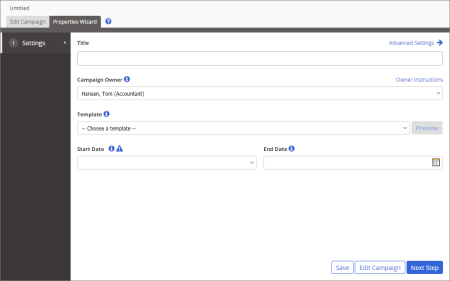
Your screen should now look similar to the one below. These settings constitute the first step of the Properties Wizard, which guides you through all of the available properties settings.
- To work your way through the Properties Wizard steps, see Assigning Campaign Properties.
Important: You must at least type a title, choose a template, and then click Save or Next Step before you can see the remaining Properties Wizard steps and edit the campaign.
- Click Edit Campaign, and then add content items (see Adding Content to a Campaign).
- Click Approve (Ready to Start) to start the campaign or, if the start date is set in the future, to move the campaign from Draft to Pending status.