The Recycle Bin
Whenever one of the following is deleted, it is moved to the Recycle Bin. You can restore or permanently delete any of these items.
- Site
- Department
- Department group
- Job title
- Job title group
- User
- Writer, reviewer, approver, or reader group
- Category
- Template
- Document
You can access the Recycle Bin from Company Setup, User Setup, or Document Setup in Preferences.
To restore or permanently delete an item from the recycle bin,
- Click PREFERENCES.
- Do one of the following:
- Click Company Setup.
- Click User Setup.
- Click Document Setup.
- Click Recycle Bin.
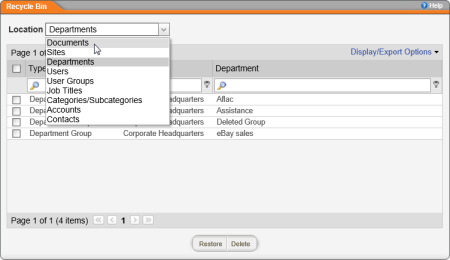
- In the Location list, click the type of item you want to restore or delete.
|
Notes:
- Deleted templates are stored in the Documents location.
- By default, 20 items of the type you select are displayed per page. To change that number, click Display/Export Options, click Display Options, and then, in the Items Per Page list, click a number.
|
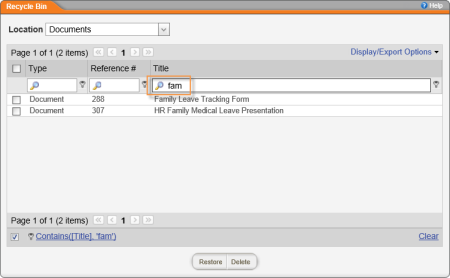
- (Optional) To shorten a long list of items, start typing text in one of the column filter boxes.
|
Notes:
- By default, the filter operator is Contains. To change the filter operator, click
 after the column filter box, and then click a different operator, such as Begins with or Equals. after the column filter box, and then click a different operator, such as Begins with or Equals.
- To create a more complex filter, see Creating an Advanced Filter in the Recycle Bin.
- To clear a column filter, click Clear below the item list, or delete the text in the column filter box.
- To temporarily clear a column filter, click to clear the check box below the item list (the check box before Contains([Title], 'fam') in the screenshot below).
- Column filters are displayed by default. To hide them, click Display/Export Options, click Filter Options, and then deselect Show Column Filters.
|
- Do one of the following:
- Select one or more items individually.
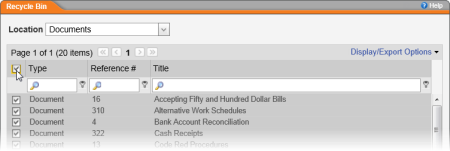
- Select the check box in the first column header to select all items listed in the current page.
- Do one of the following:
- Click Restore, and then click OK.
- Click Delete, click Yes to confirm, and then click OK.
Important: We recommend that you not delete users from the Recycle Bin as you may find that you need to access their information in the future. If you decide to delete users permanently, be sure to back up the database before you do (see Backing Up a Database).
- To export the currently displayed list, click Display/Export Options, click Export List, and then click an export format. At the system prompt, open or save the export file.