Adding Subcategories Manually
The instructions below are for adding each subcategory manually. If you want to import subcategory information, see Importing Subcategories.
To add a subcategory,
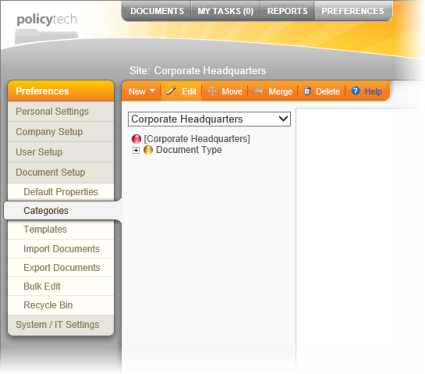
- Click PREFERENCES.
- Click Document Setup, and then click Categories.
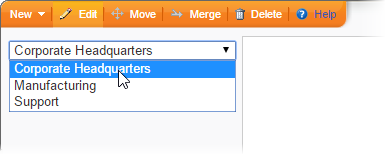
- If your PolicyTech system has multiple sites, select the site for the category to which you want to add a subcategory.
- Click the top-level category or subcategory you want to add a subcategory to.
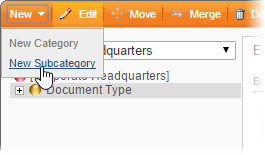
- Click New, and then click New Subcategory.
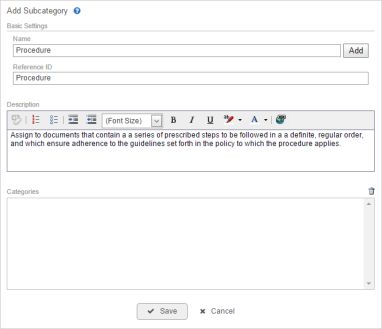
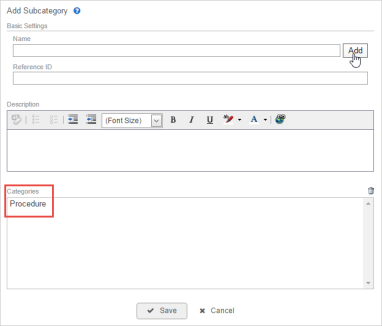
- Type a subcategory name.
- By default, the Reference ID box is auto-filled with the subcategory name you type. If you change the reference ID, be aware that it must be unique among all category and subcategory IDs.
- (Optional) In the Description box, describe the type of document that should be added to this subcategory.
- Click Add. The new subcategory appears in the Categories box.
- (Optional) To create additional subcategories under the same category, repeat steps 6 through 9.
Note: You can click one of the subcategories in the Categories box to change that subcategory's properties. When you finish making changes, click OK to save them. To delete a subcategory, click it, and then click  .
.
- When you're finished adding subcategories, click Save.
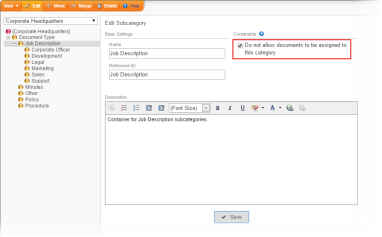
- (Optional) Under some circumstances, you may not want a subcategory you've added to be assigned to documents. For example, if you're creating multiple levels of subcategories, a subcategory may simply be a container for other subcategories added below it. To prevent a subcategory from being assigned to documents, find and click the subcategory in the category tree, select the Do not allow documents to be assigned to this category check box, and then click Save.