Exporting Documents
If necessary, you can export copies of PolicyTech documents. This does not affect the status of the original documents in PolicyTech.
|
Important:
- The Export Documents feature is available only if it has been enabled. Please contact Client Support if you need to have it enabled.
- If your PolicyTech system is hosted by NAVEX Global, Client Support cannot enable the Export Documents feature permanently—the enabling will have an expiration date. This is due to the intensive resource requirements of exporting documents.
|
You can export documents in their original file format (such as Word or Excel documents) or in PDF format. You can also choose to include document metadata (certain Properties Wizard settings), which facilitates moving documents from one PolicyTech system to another.
|
Important:
- Exported documents are no longer under version control.
- If you need to move documents from one PolicyTech system to another, please contact Client Support for guidance in order to avoid possible adverse and irreversible issues.
|
To begin an export:
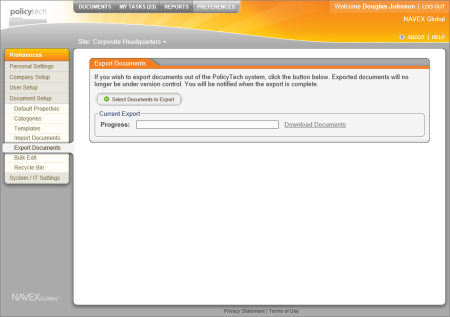
- Click PREFERENCES, click Document Setup, and then click Export Documents.
- Click Select Documents to Export, and then select documents (see Selecting Documents below for detailed instructions).
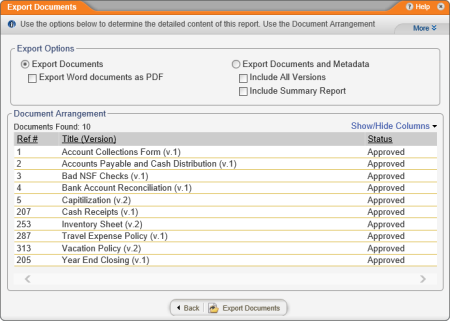
- Click Next to display export options.
- Do one of the following:
- To export the selected documents only, click Export Documents. If you want any Word documents included in the export automatically converted to PDF format, also select the Export Word documents as PDF check box.
Important: The Export Word documents as PDF option will only work if PDF Converter has been enabled (see Set Up PDF Converter).
- To export the selected documents along with an Excel spreadsheet containing document metadata (certain Property Wizard settings) , click Export Documents and Metadata. This option facilitates moving (exporting and then importing) documents from one PolicyTech system to another.
Important: To avoid adverse and possibly irreversible issues, please contact Client Support for guidance before attempting to move documents from one PolicyTech system to another.
If you select Export Documents and Metadata, you also have the options of including all versions of each selected document (instead of only the latest version) and including a summary report for each selected document that shows the document's properties and history.
- Click Export Documents to place the export in a queue for processing by the PolicyTech server.
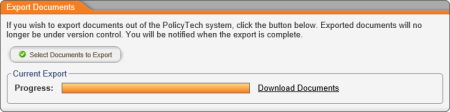
You are returned to the Export Documents window containing a progress bar. The time it takes to complete the export depends on the number and sizes of the documents.
When the export is complete, PolicyTech sends you an email with the subject Document Export Notification. Back in the Export Documents window, the download option or options are now activated.
- Click Download Documents, and then save the zip file.
Note: If you exported documents with their metadata and chose to include summary reports, you can find those reports in a folder named SummaryAndAttachments after extracting the contents of the export zip file.
- Extract the zip file's contents.
- (Conditional) If you exported documents with their metadata, in the Export Documents window, also click Download Metadata, and then save the Excel spreadsheet.
Selecting Documents
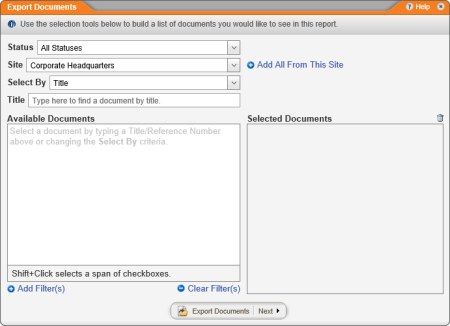
The process for selecting documents consists of first displaying a narrowed list of documents and then selecting from that list the documents you want to export.
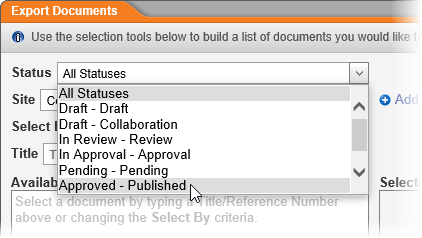
- If a group of documents you want to export are all in the same workflow status, select that status. Otherwise, select All Statuses.
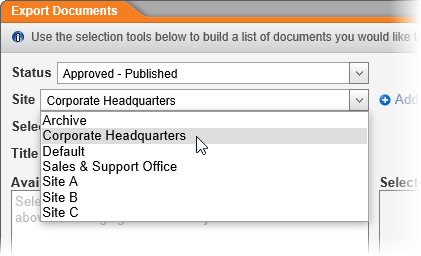
- Select a site containing some or all of the documents you want included in the export.
|
Notes:
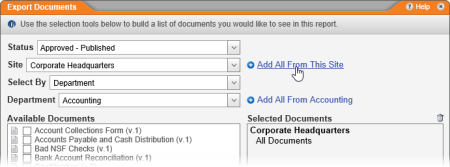
- To select all documents from the current site, click Add All From This Site.
- After finishing steps 1 through 5, repeat them to add documents from other statuses or sites.
|
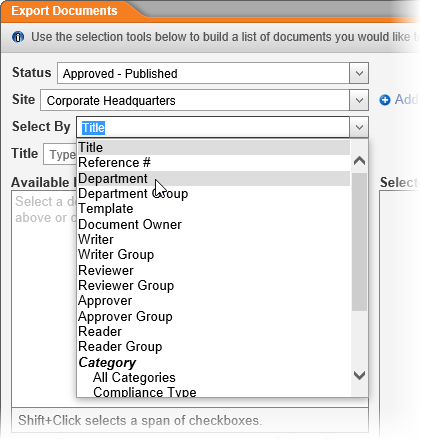
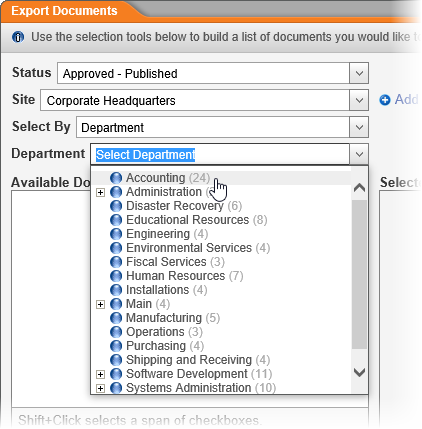
- In the Select By list, click an option for how you want to find documents.
- The list below Select By changes, depending on your Select By choice. For example, if you choose to select documents by department, a list of departments appears below the Select By list.
Do one of the following:
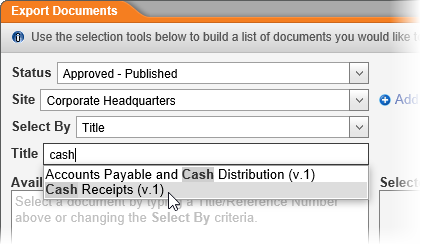
- If you chose Title or Reference # for Select By, start typing some text that you believe is in a document's title or reference number. When you've typed at least three characters, a list appears of titles or reference numbers matching what you've typed. Continue typing if you need to narrow the list. As soon as you see the title or reference number you want, click it.
Note: Unlike other Select By options, the Title and Reference # options limit you to selecting documents one at a time.
- If you chose any of the other Select By options, in the list below Select By click an item to display all documents assigned to that item. For example, if you chose Department for Select By, then in the Department list, click a department to display all documents assigned to that department.
- (Optional) To narrow a long list of documents, add one or more filters (see Adding Document Filters below for details).
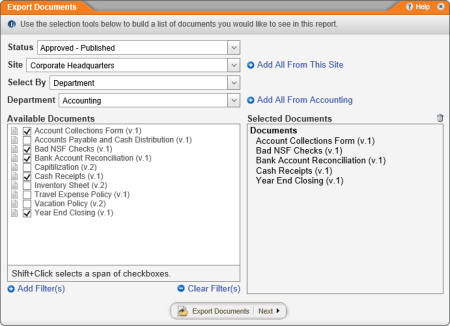
- Do one of the following to add documents to Selected Documents:
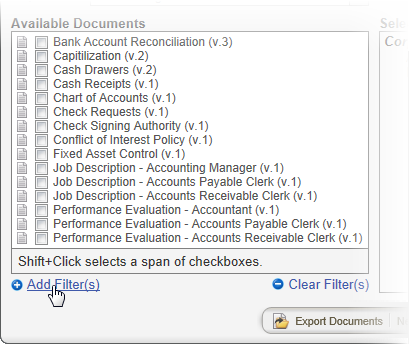
- Select individual documents from the Available Documents list.
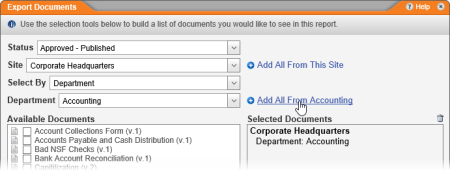
- To quickly add all documents from the list, click Add All From [Select By item].
- Click Add All From This Site.
Adding Document Filters
- With a list of documents displayed in the Available Documents window, click Add Filter(s).
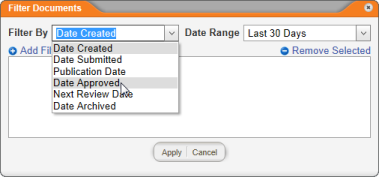
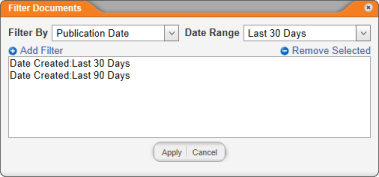
- In the Filter By list, click an option.
Important: In some reports, a Filter By option is preselected and not changeable.
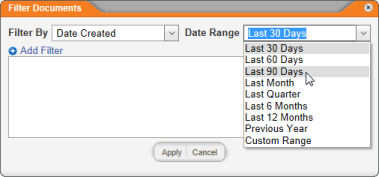
- In the Date Range list, click a range.
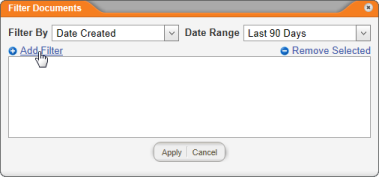
- Click Add Filter.
- (Optional) Repeat steps 2 through 4 to add another filter to work in combination with the first filter you added. For example, you might want to filter for only those documents that were created within the last 90 days and that were published within the last 30 days.
- Click Apply.
Note: To clear any applied filters, below the Available Documents box, click Clear Filter(s).