As you create a document and throughout its life cycle much information about the document is tracked and stored in the PolicyTech™ database. You can access this information and have it appear within the content of the Microsoft® Word or Excel® document itself by inserting what are called property fields. For example, you could insert property fields to show the name of the document owner, the date the document is approved, and names of the departments the document affects. The contents of these fields automatically change as events occur that affect those document properties.
The instructions below explain how to insert a property field into a document. For details on each document property, see Appendix: Document Property Details.
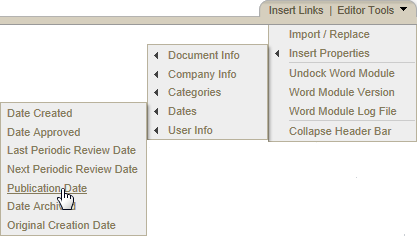
Some fields that are inserted will immediately display the correct value, such as the document title, the document owner's name, or the current date. Other fields display the correct information only after certain events have occurred. For example, if you insert the Publication Date field, you will see "Not Approved Yet" as the field text until the document is approved, at which time the approval date will appear. Also keep in mind that some of a document's properties, such as its title or assigned approvers, are editable. If a property is changed in the Properties Wizard or in Preferences, that change will automatically be reflected in the corresponding inserted property field.
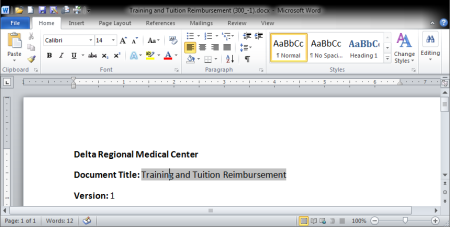
When you insert a field into a Word document, it looks like normal text, but a field is treated differently than normal text. For example, the document shown below includes the Business Title, Document Title, and Version Number fields in the header. One way to tell that these are fields is to place the cursor within the field text, which shades all of the field text (if the Word setting for Field shading is When selected). In the document below, the cursor is in the Document Title field.
Important: While the text of a property field is editable, we strongly recommend that you not edit field text, as whatever changes you make will be lost the next time the field is updated.
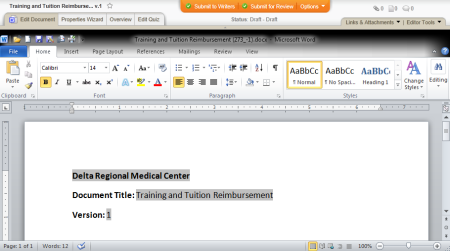
You can change the Field shading option in Word so that all inserted fields are always shaded, as shown below.
The way you access the Field shading option depends on your version of Word.
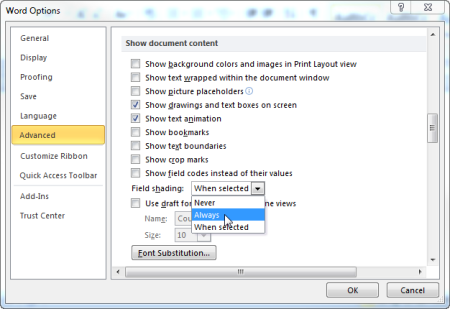
In Word 2010:
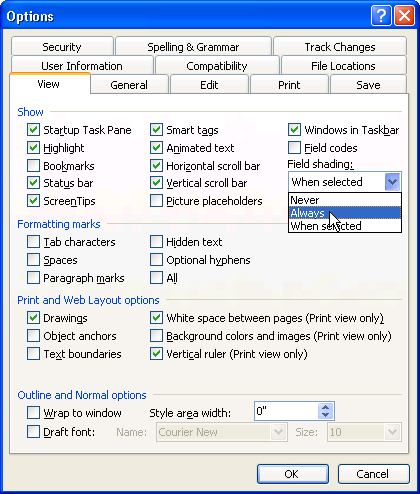
In Word 2007:
 , click Word Options, and then click Advanced.
In Word 2003:
To delete a property field you've inserted into a Word document, do one of the following:
Note: If you place the cursor anywhere inside the field instead of before or after the field, pressing Delete or Backspace will delete a character in the field text instead of selecting the field.
Important: A property field cannot be inserted into a spreadsheet cell that already contains information or that is being edited. Make sure that the cell you select is empty and that you are not in edit mode (that the cursor is not active in the Formula Bar or inside the cell).
Important: You will see the warning only once during an editing session, but inserting a field always erases the undo history. To avoid erasing information from the undo history that you might need later, we suggest you insert fields either as the first or last step of creating an Excel document.
Some fields that are inserted will immediately display the correct value, such as the document title, the document owner's name, or the current date. Other fields display the correct information only after certain events have occurred. For example, if you insert the Publication Date field, you will see "Not Approved Yet" as the field text until the document is approved, at which time the approval date will appear. Also keep in mind that some of a document's properties, such as its title or assigned approvers, are editable. If a property is changed in the Properties Wizard or in Preferences, that change will automatically be reflected in the corresponding inserted property field.
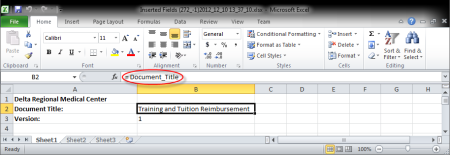
When you insert a field into a Microsoft Excel document, it looks like normal text, but it is not. You can identify a document property field in Excel by clicking on a cell and then looking in the Formula Bar, or by double-clicking a cell to activate edit mode. A property field contains the following formula: =[field_name], where [field_name] is the name PolicyTech has assigned to this document property (Document_Title in the example below). Because an inserted property field contains a formula, you cannot edit the property field text in an Excel document.