Designating Assignees for a Campaign
Assignees are those users you require to complete a campaign.
Designate Assignees for a Campaign
- From an open campaign, in the Properties Wizard, click Assignees.
- First check to see if the template included assignees. In the example below, the template automatically added two assignee groups. Any assignees added by the template are optional and can be treated as suggestions. To remove an optional assignee, group, department, or job title, click it, and then click
 .
.
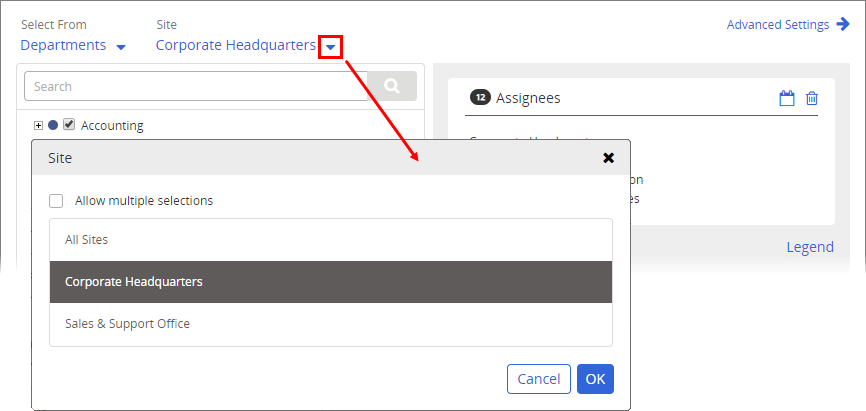
- If you have access to multiple sites, do one of the following.
- Leave the default site selection to select approvers from the current site.
- Under Site, click
 , select a different site, and then click OK.
- Under Site, click
 , select Allow multiple selections, select two or more sites, and then click OK.
Important: If you will be designating assignees from other sites, see About Task Assignments and Site Access before doing so.
- For Select From, click Assignees, Groups, Departments, or Job Titles, and then click OK.
- Select one or more of the listed items.
- (Optional) Set a due date for when assignees should be finished. See Setting Task Due Dates for a Campaign for details.
Important: We suggest that you do not set a specific due date for an assignee task, as that could cause past due notices to go out to new users who were added after the due date and assigned to the campaign.
- Do one of the following:
- Click Save.
- Click More, and then click Save and Close.
