Creating a Template
The following steps provide an overview of the template creation process and references to more detailed instructions.
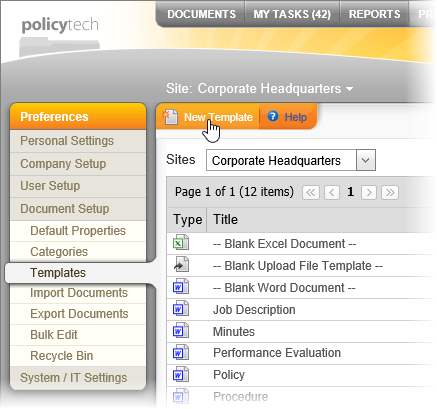
- Click PREFERENCES.
- Click Document Setup, and then click Templates.
- Click New Template.
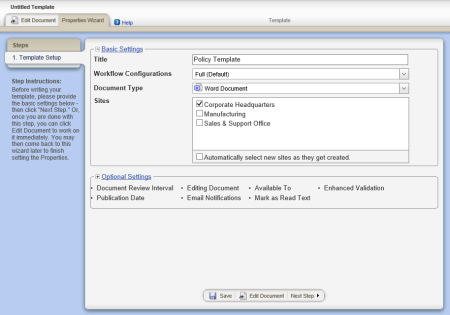
- On the Template Setup page, type a title.
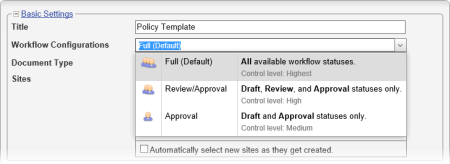
- For Workflow Configurations, select one of the following options:
- Full (Default): Includes all available workflow steps—draft, collaboration (for assigning writers), review, and approval—leading up to a document being published.
- Review/Approval: Eliminates the collaboration step for documents based on this template.
- Approval: Eliminates both the collaboration and review steps for documents based on this template.
Note: Document owners can choose to skip the collaboration and review steps, even when they are included in the template. The draft and approval steps are always mandatory.
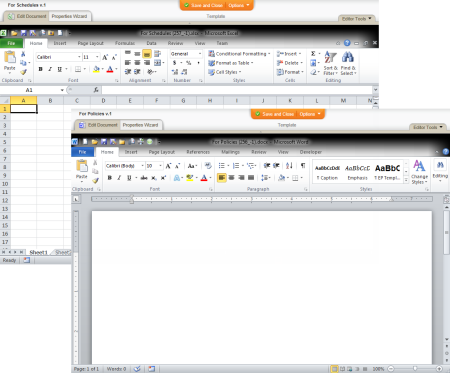
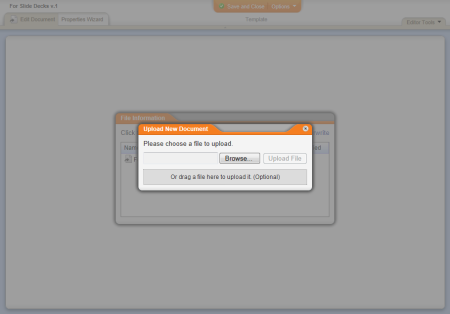
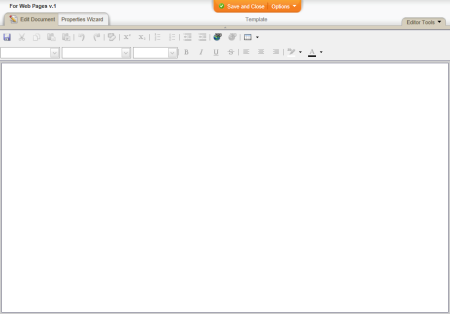
- For Document Type box, click Word Document, HTML Document, Excel Spreadsheet, or Upload a File.
- In the Sites list, click the sites you want to have access to this template.
- (Optional) If this template is one you want all sites that might be created in the future to have access to, select the Automatically select new sites as they get created check box.
- Click Save to display the remaining workflow steps and enable the Edit Document tab.
Important: You must at least type a title and then save the template before you can see the remaining Properties Wizard steps and edit the template contents.
- (Optional) See Assigning Template Properties for instructions on configuring Optional Settings for step 1 and working through the remaining steps.
- (Optional) Click Edit Document, and then do one of the following, depending on the document type you chose earlier:
- Click Save and Close.