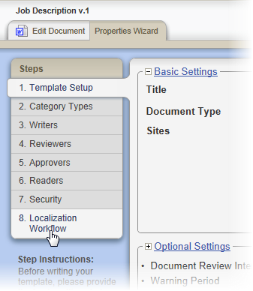
After purchasing the Localization Workflow module, setting it up consists of activating the feature using a special registration code and then enabling the feature in templates.
If you purchase the Localization Workflow Module, you will be given a new registration code that enables this feature module. Submit the new registration code using Registration Info in System / IT Settings (see
Once Localization Workflow has been enabled within PolicyTech, you must enable this feature in one or more templates before document owners can use the feature while creating or editing a document.
Note: If you don't see step 8. Localization Workflow, then the module is not currently enabled. If you have purchased the module, make sure that the new registration code has been submitted in Registration Info in System / IT Settings. If the step is still not available, then the license that includes Localization Workflow may have expired. Call Client Support at 888-359-8123 (toll-free in the U.S. and Canada) or 208-359-8123 for help.