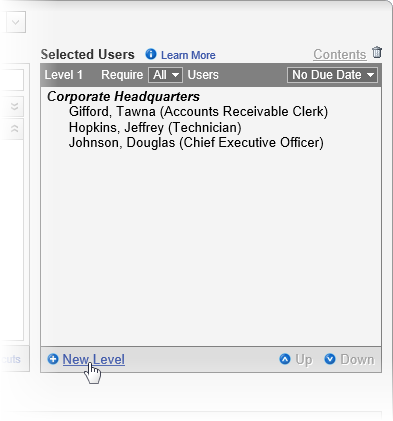
When, in the Properties Wizard, you assign writers, reviewers, and approvers to a document, you can create levels to specify which users get the document first, second, and so on. When you create multiple levels, all users on the first level must complete their tasks, such as reviewing the document, before the same task can be sent to the users at the next level.
The following instructions assume that you are currently working on one of these Properties Wizard steps: 3. Collaboration, 4. Review, 5. Approval.
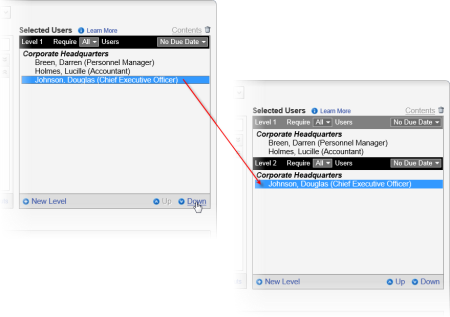
Notice in the screenshots above that a black Level 2 heading appears. The black color indicates that this level is now active. Any additional users selected at this point are added to Level 2. To make Level 1 active again, click the Level 1 heading.
Note: Clicking Down when the user is already at the last level (highest numerically) automatically creates a new level.
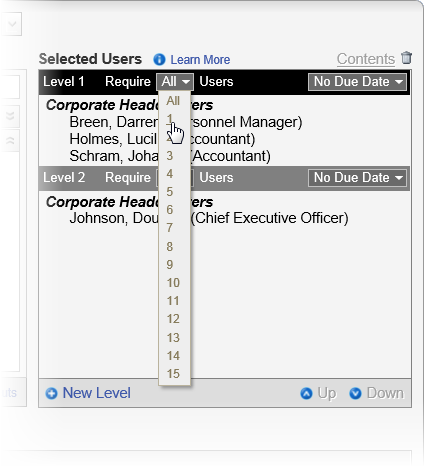
Note: If a group is included on a level, and the group is both inherited from the template and designated as required, users within the group are counted individually toward the Require number. For example, suppose that , on a particular approver level, there is one individually assigned approver and a required group inherited from the template containing three approvers. If you set the Require number at 2, either of the following would complete the level: the individually assigned approver and one user from the required group accepts the document; two users from the required group accept the document.