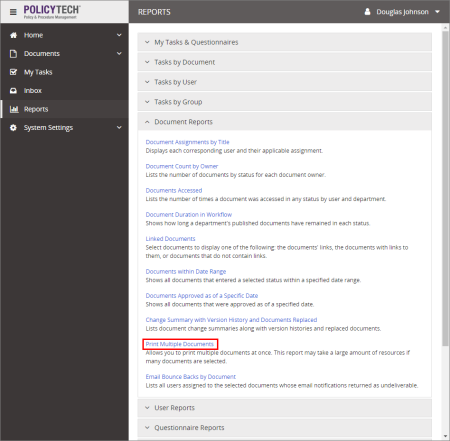
Lets you select and print multiple Microsoft Word and Excel documents at once.
Document Owner, Proxy Author, Report Manager, Administrator
Important: By default, only documents assigned the All Users (default) security level are displayed in the Available Documents box. To display and have the option to select documents assigned the Restricted - High or Restricted - Severe security level, click Show Restricted Documents. Restricted document titles are displayed in red font.
To change the default report columns, click Show/Hide Columns, and then select or click to clear check boxes.
Important: Changing what is displayed in the Document Arrangement list does not affect output when Print Documents is selected, but it does affect the output for Print Display Table. With Print Display Table and Standard selected, clicking to clear the following columns hides them in the Document Arrangement list, but it does not remove them from the standard display table: Reference #, Ver #, Review Interval, Document Owner, URL. With Print Display Table and Microsoft Excel Raw selected, all column changes you make directly affect what is included in the exported display table file.
Note: The Security Details option functions differently than the other Show/Hide Columns options. First, it is only selectable if Microsoft Excel Raw is selected. Second, it causes two columns to be added to the display table: Allowed Access Type and Allowed Access. These two columns will contain information only for documents that have the Restricted - High or Restricted - Severe security level assigned, and only if one or more other allowed users are selected (for details on security levels, see Step 7: Security). The Allowed Access Type column shows how other allowed users were selected (by department, by job title, or by readers), and the Allowed Access column shows the departments, job titles, and readers that were selected. Notice in the example below that a separate row is included for each of a document's Allowed Access entities that were selected.
Note: Changes to the document sort column and sort order directly affect both Print Display Table outputs.
Important: PolicyTech opens and prints each selected document one after the other. This may take several minutes if many documents are selected. Do not attempt to work with any open document until the printing process has completely finished.
The last thing to be printed is the table of contents page, at which time you'll see
To use the default table of contents that has already been printed, click Cancel, which closes the table of contents.
To edit the default table of contents page, click OK, and then make changes as you would with any other Word document within PolicyTech. When finished, print the modified table of contents from within Word.
If you chose the Standard output format, the report opens in the viewing pane to the right where you can view the report, search within it, send it to another PolicyTech user, print all or part of it, and save it to disk in several different formats (see Working with a Finished Legacy Report for details). If the report contains links, click a document or questionnaire link to open that document/questionnaire in PolicyTech or click a user name to open another report specific to that user.
If you selected Microsoft Excel Raw, follow the prompts to download and open the Excel file.