Adding Content to a Document with an Upload File Template (Windows)
Important: Before you can add content to a document, you must complete at least step 1. Settings of the Properties Wizard. If you have not already done so, complete the instructions under Assigning Document Properties.
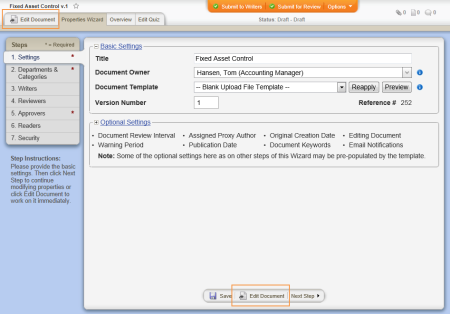
- Do one of the following to open the document editing window:
- If you currently have the document open and have the Properties Wizard, Overview, or Edit Questionnaire tab selected, click the Edit Document tab near the upper left corner or the Edit Document button at the bottom of the currently displayed Properties Wizard step.
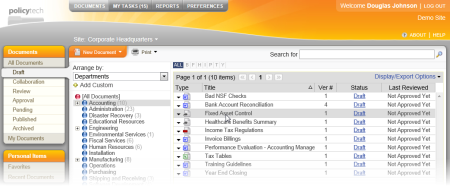
- If the document is currently closed, click DOCUMENTS, and then click Draft. Use any of several methods to find and display the document in the document list (see Finding and Opening a Document for details), and then click the document title.
- What you see now depends on whether this document's assigned upload file template already contains an uploaded file. Do one of the following, depending on what you see:
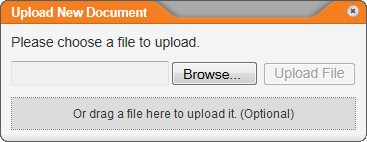
- If the assigned template contains no uploaded file, a window like the one below is displayed.
- Click Browse, find and click the file you want to upload, click Open, and then click Upload File. (Alternatively, you can open Windows Explorer, find the file you want to import, and then click and drag the file onto the box that contains the text Or drag a file here to upload it. (Optional). The file is immediately uploaded.)
- An alert appears stating that the uploaded file has been renamed to match the document title you typed in the first step of the Properties Wizard. Click OK.
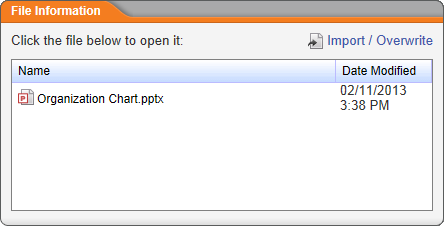
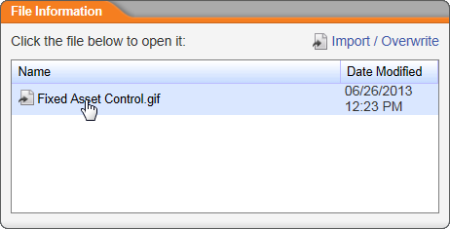
- If the assigned template contains an uploaded file (in other words, the document already contains an uploaded file), a window like the one below is displayed.
- To modify the uploaded document's contents, in the File Information window, click the file name, and then do one of the following:
- If the uploaded file is a supported file type (such as a PowerPoint or Visio file), the file opens immediately in its default application in a separate window (provided you have an application installed on your computer that can open that file type). When you're finished adding to or modifying the file's contents, save it, and then close the application window. Back in the PolicyTech document window, click OK to clear the alert.
- If the uploaded file is not a supported file type, a prompt is displayed for you to open or save the file. Click Open.
When you're finished adding to or modifying the file's contents, save it, and then close the application window. You will now need to upload the modified file to replace the previous version.
Back in the PolicyTech document window, click Import / Overwrite, click Browse, find and click the file you want to upload, click Open, and then click Upload File.
- When finished adding and modifying content, do any of the following: