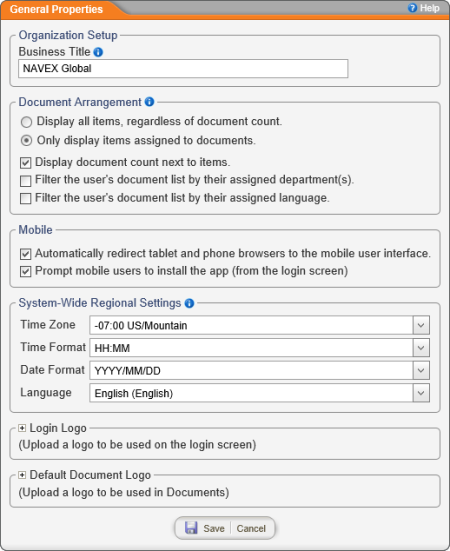
To set up general properties,
In the Business Title box, type name of your organization.
The name appears on the right of the PolicyTech™ header, below the user name.
The Document Arrangement options let you control which items and documents are displayed when looking for a document using Arrange by (see Finding a Document in a Specific Status for details on using Arrange by).
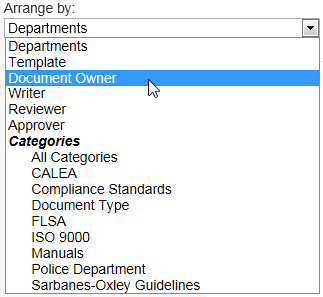
When looking for a document using Arrange by, users can choose to list documents by one of many document properties, such as what department or category the document is assigned to.
Selecting a property displays a list of all the items, or options, that can be assigned for that property. In the example below, Document Owner is the selected property, and the names of all document owners are the items in the Document Owner list.
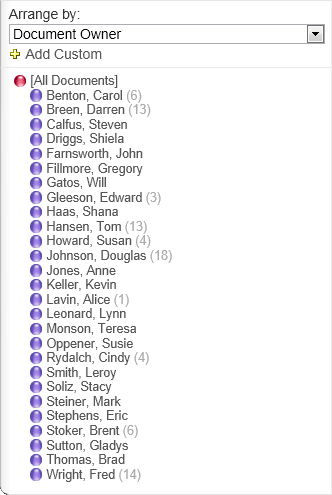
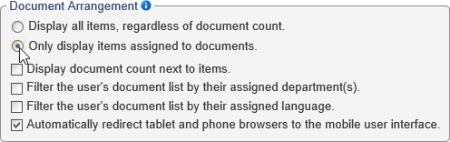
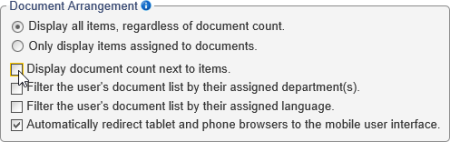
By default, all of the items under the selected property appear in the Arrange by list, whether they have documents assigned to them or not. If you want only those items to be displayed that have documents assigned to them, click Only display items assigned to documents.
With the following settings, you can change how documents are displayed.
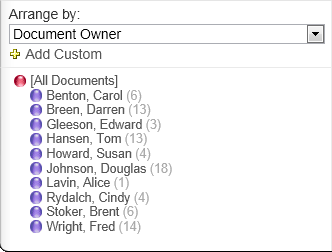
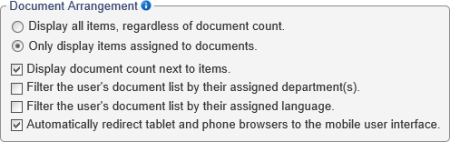
By default the number of documents assigned to each item in an Arrange by list is displayed, as shown below.
To disable this feature, click to clear the Display document count next to items check box.
By default, users can see documents in all departments, as long as they have been assigned to those documents in some way, such as being assigned as a reader. If you want to restrict all users to viewing only the documents in their assigned departments, select the Filter users' document lists by their assigned department(s) check box.
By default, users also see documents in all languages. To limit the display of documents to only those in the user's preferred language, select the Filter the user's document list by their assigned language check box..
Important: This setting applies to all users, except those assigned the Document Control Administrator or View Docs All Departments permission (see Assigning System Permissions for details on assigning permissions to users).
When a user accesses PolicyTech using a browser (instead of the mobile app) on a tablet or phone, PolicyTech detects that the user is on a mobile device and does the following by default:
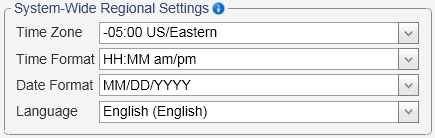
Choose the time zone, time format, date format, and language settings you want to appear as the default settings for each site you add. You can override these settings when you create a site (see Adding a Site for details).
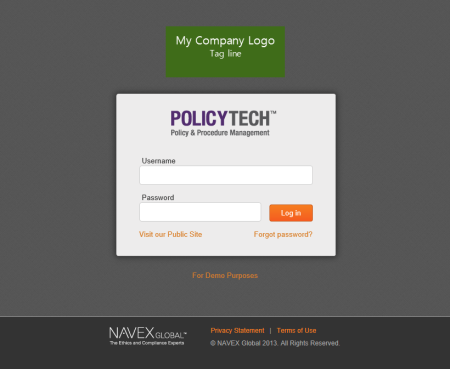
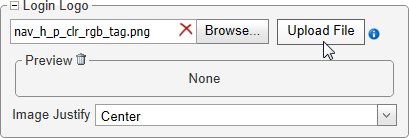
You can upload a graphic file, such as a company logo, that will be displayed above the login dialog box, as shown in the example below.
|
Note: To remove the currently selected logo, click |
Important: The box that holds the login logo is set at 400 pixels wide (the same width as the login dialog box below it), but the height will adjust automatically. If you upload a graphic that is wider than 400 pixels, the Image Justify option will have no effect. The left edge of the image will be aligned with the left edge of the login dialog box.
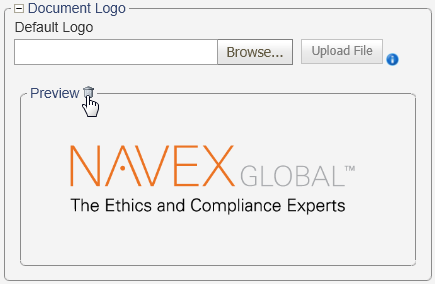
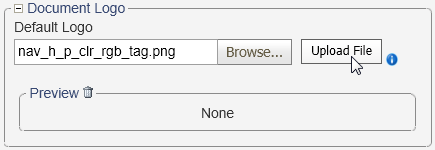
You can upload a graphic file, such as a company logo, that users can then insert into documents and document templates.
|
Note: To remove the currently selected logo, click |